Black Knight
This tutorial was contributed by Tejas Dinkar, Sanjeev Kumar G and Deo Kumar
Now that we’ve learned how to create a new page, let’s deploy our changes to a staging environment to understand how Quintype’s deployment architecture works.
Black Knight is the deployment tool from Quintype. It works by deploying your desired branches to a specified environment be it staging, beta or production. Black Knight is built on Kubernetes and Docker.

How does Black Knight work?
For every commit pushed, a build is triggered in Quay. Once the build is done and the docker tag ready, the branch is ready to be deployed via Black Knight to the particular environment.
Black Knight can be accessed via the following URLs for Staging and Production
- Staging: https://black-knight.staging.quintype.com
- Production: https://black-knight.quintype.com
Setting Up Black Knight
The infra team at Quintype will set up your environment on black knight for you. Please register with both Black Knight staging and production, then send an email to support@quintype.com to be added to the new project. Do note that you will need to enable multi-factor authentication in order to use Black Knight.
Once the Quintype team sets up your project, your app is usually available via https://<yourname>-web.qtstage.io, and https://<yourname>-web.quintype.io. Once you are ready to go live the environment at https://<yourname>-web.quintype.io will also be available at your domain.
If the environment is not working, it have been shut down. See the Dispose section for instructions on bringing it back up.
Exploring your Environment
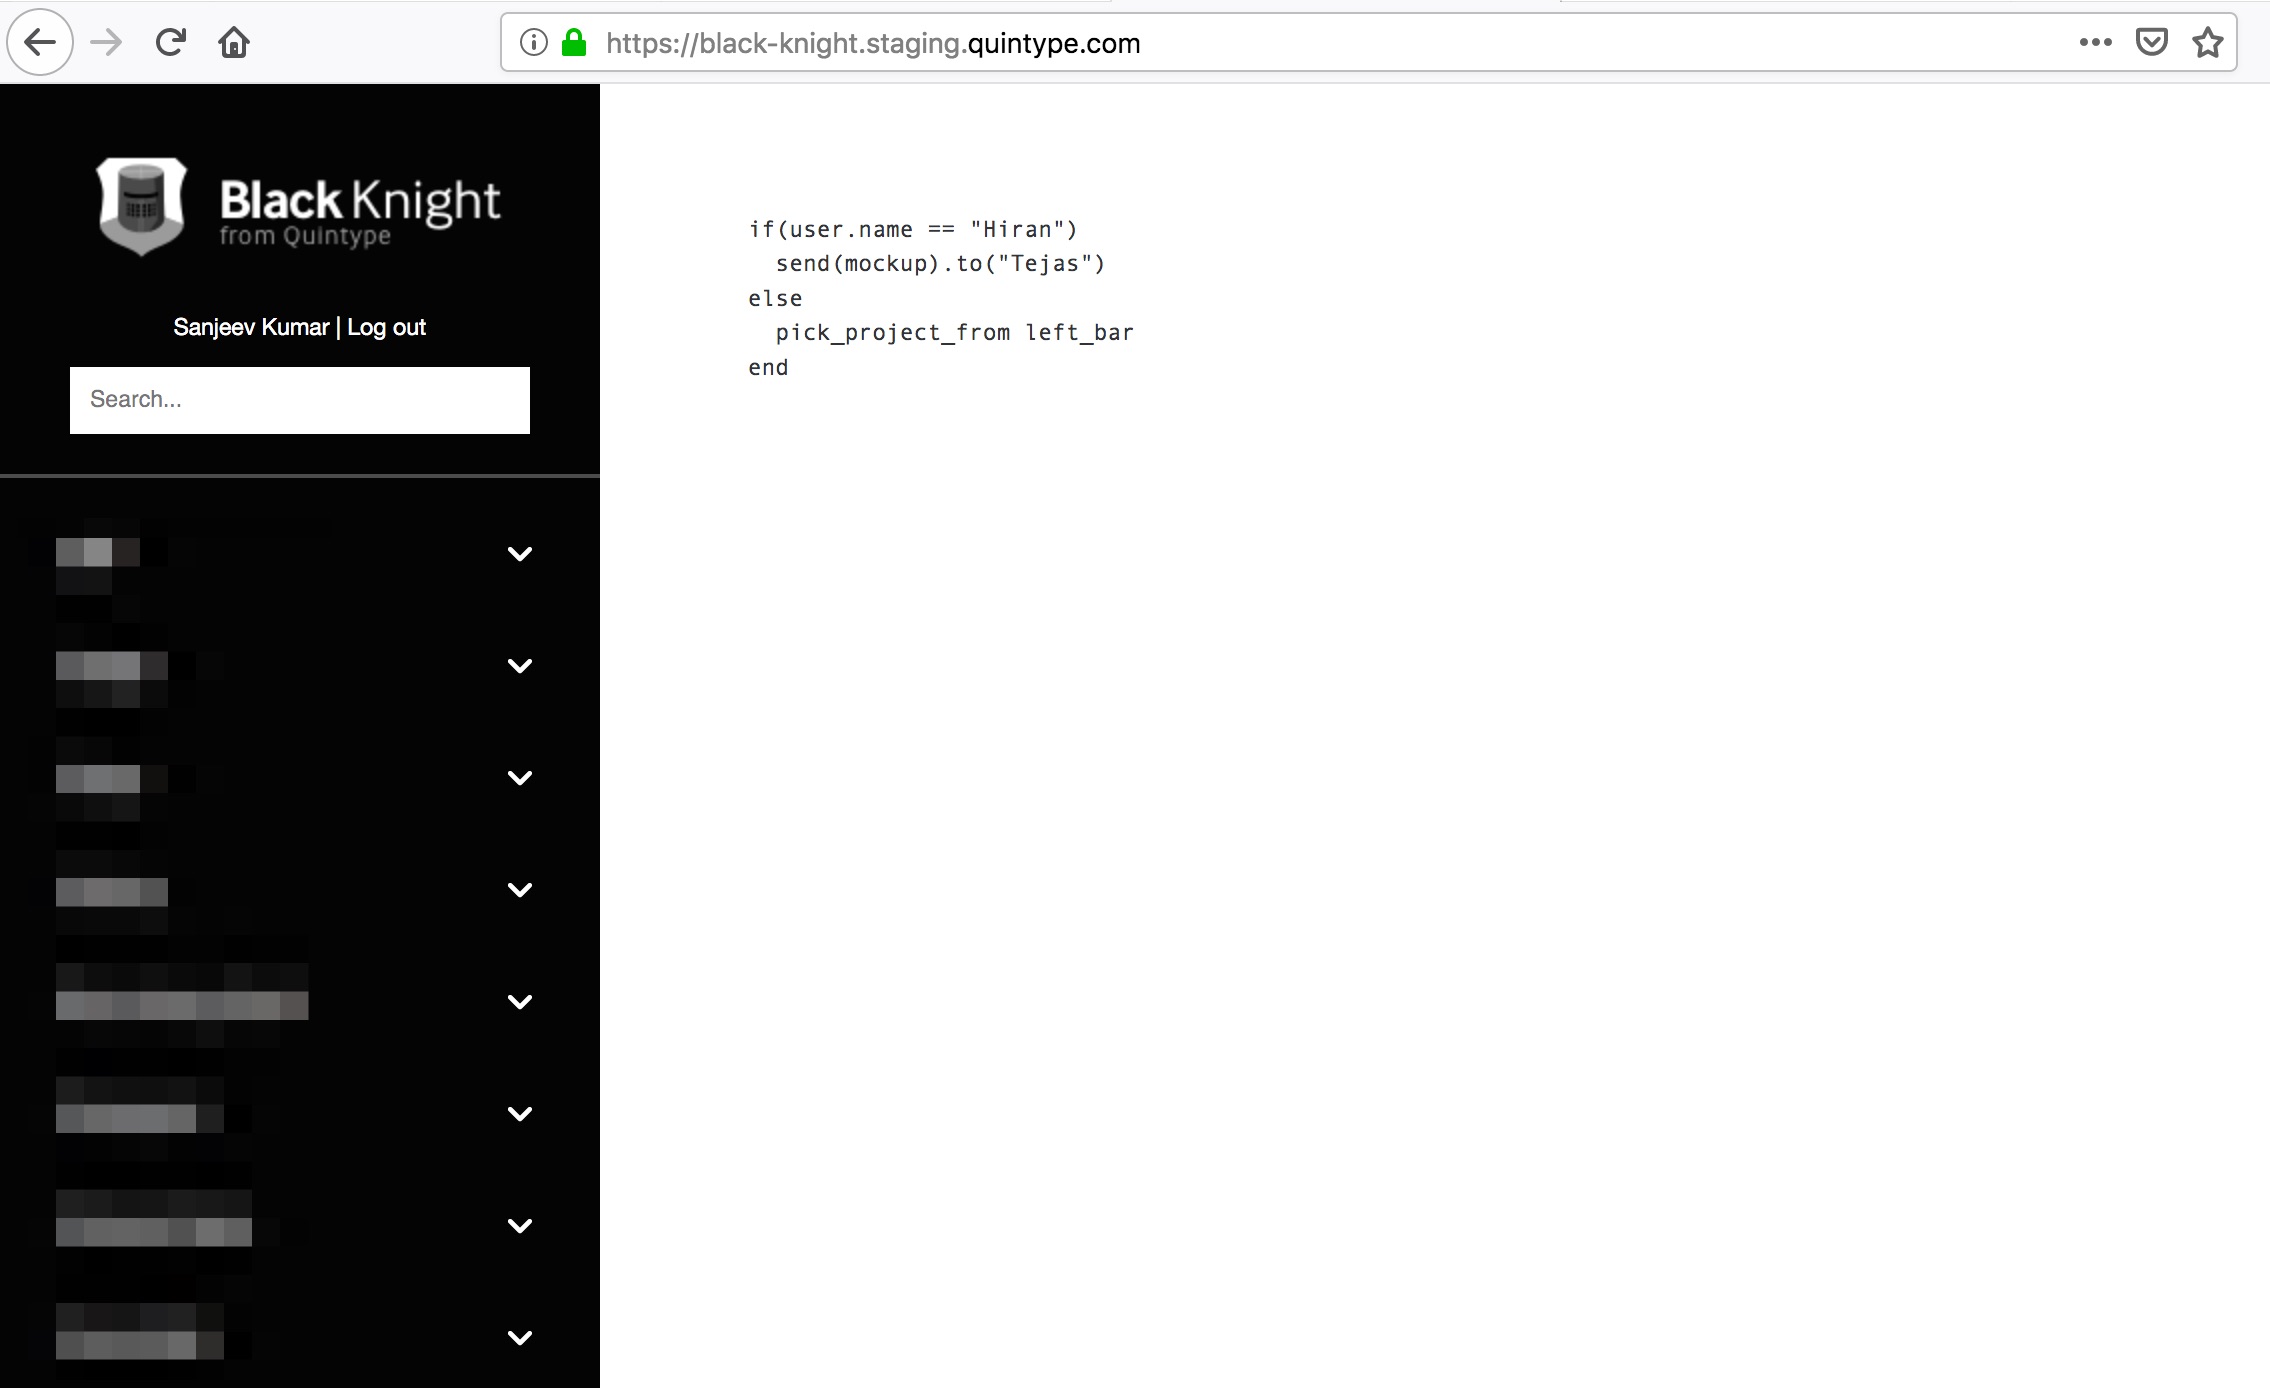
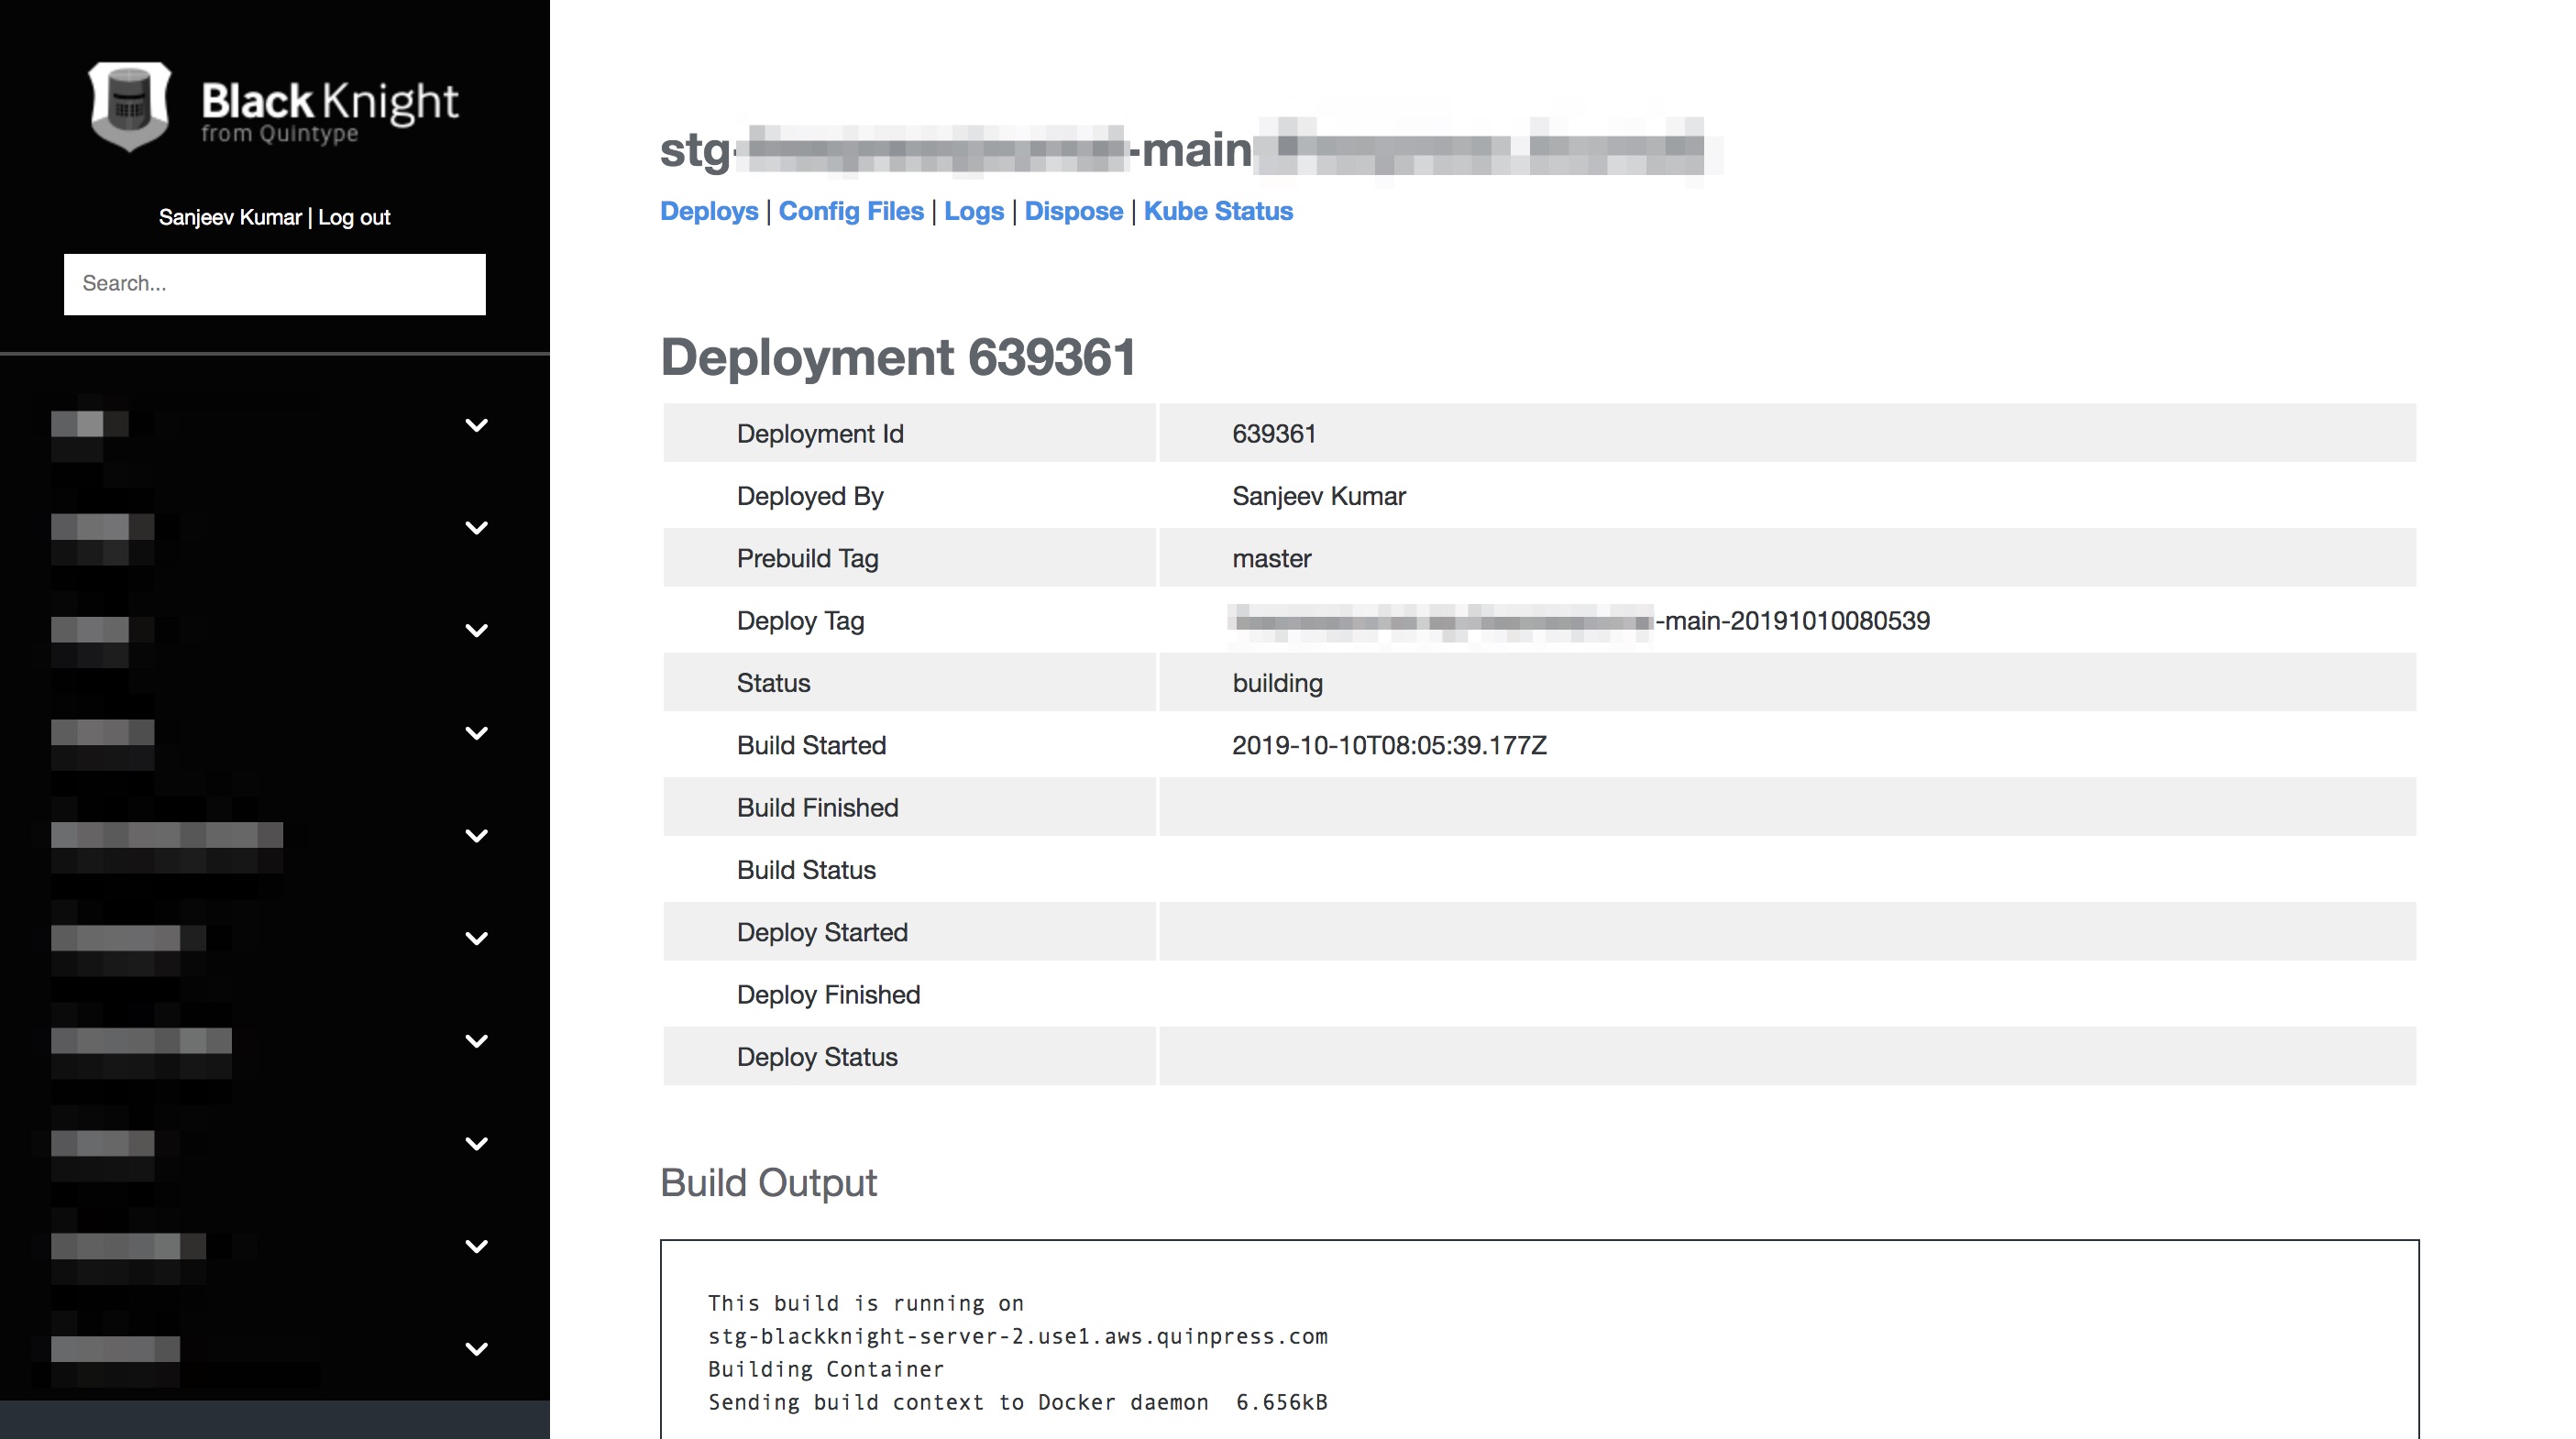
The left navigation bar is used to select a publisher to which the branch needs to be deployed. Once the publisher is selected, the Deploys section can be seen.
Do note that some text has been blurred in the above pictures.
Selecting any project shows the above screen. The following tabs are visible
- Deploys
- Config Files
- Logs
- Dispose - particular for staging only.
- Kube Status
Let’s understand each of the columns in detail
Deploys
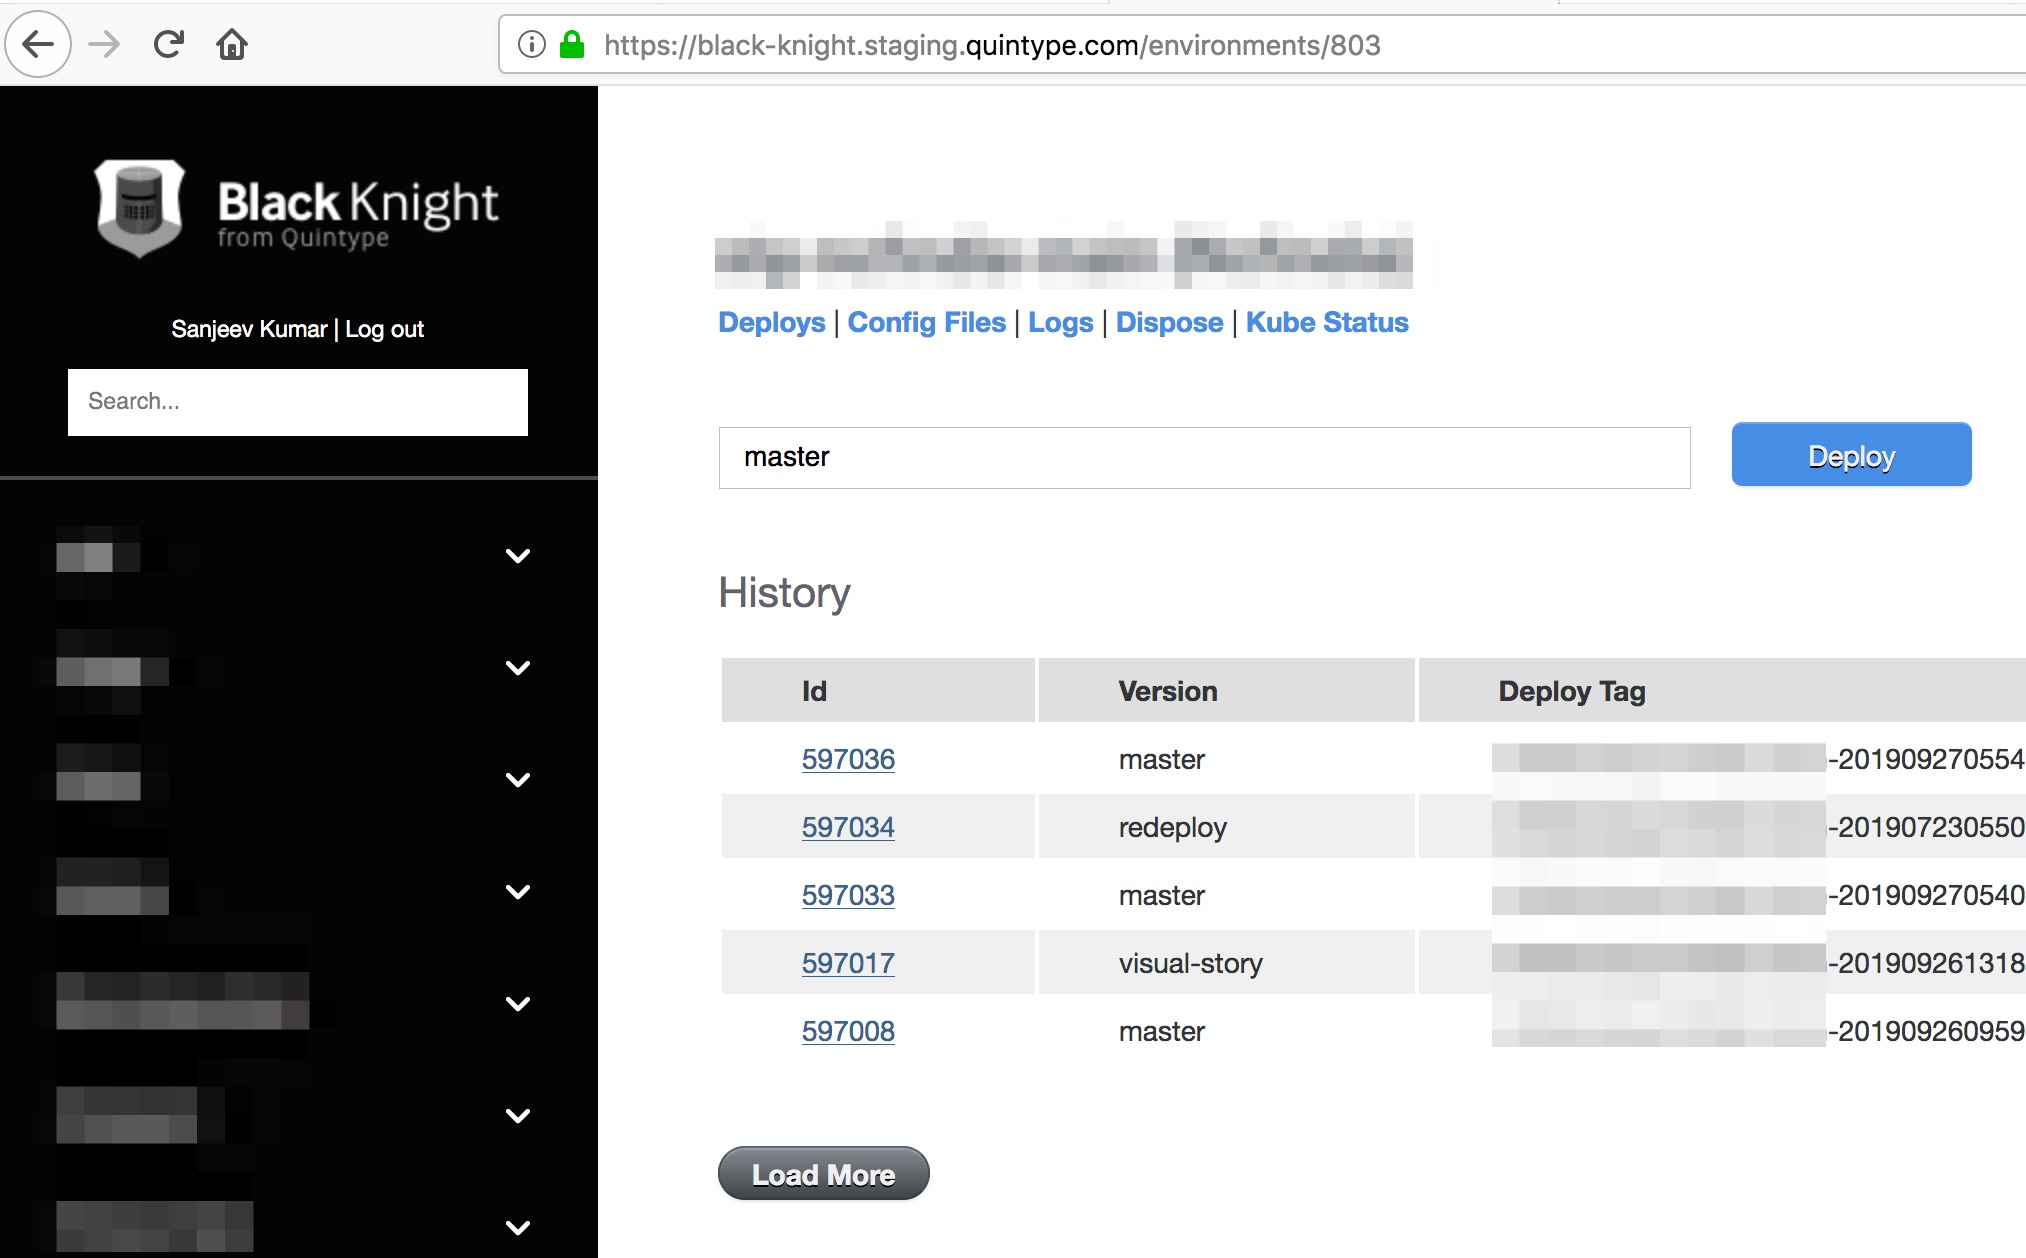
The Deploys column is the column shown by default. The text field indicates the branch to be deployed. The branch can either be a ‘master’ or ‘feature-branch’.
The ‘History’ section shows the history of tags deployed to this environment. Each deployment has an ID, the version that was deployed and a deploy tag which indicates the commit + config getting deployed. The Status column tells you whether the deployment was successfull, and can will be one of ‘pending’, ‘building’, ‘deploying’, ‘success’, or ‘failed’.
Entering any built tag from Quay in the input box and click on the Deploy button to start a new deployment. See the Deploying section for more details
Config Files
Black Knight allows you to add configuration files to various environments. This allows publishers to reuse the same docker image in multiple environments, but inject in configuration.
By default, Malibu based projects have one important configuration file, the app/config/publisher.yml. This file contains various parameters which are read by the @quintype/framework, the most important being the sketches_host, which indicates the location of your API server. This should typically be <yourname>.internal.quintype.io for production. Similarly, the asset_host should usually be set to fea.assettype.com.
A sample app/config/publisher.yml file can be found below:
sketches_host: <yourname>.internal.quintype.io
asset_host: fea.assettype.com
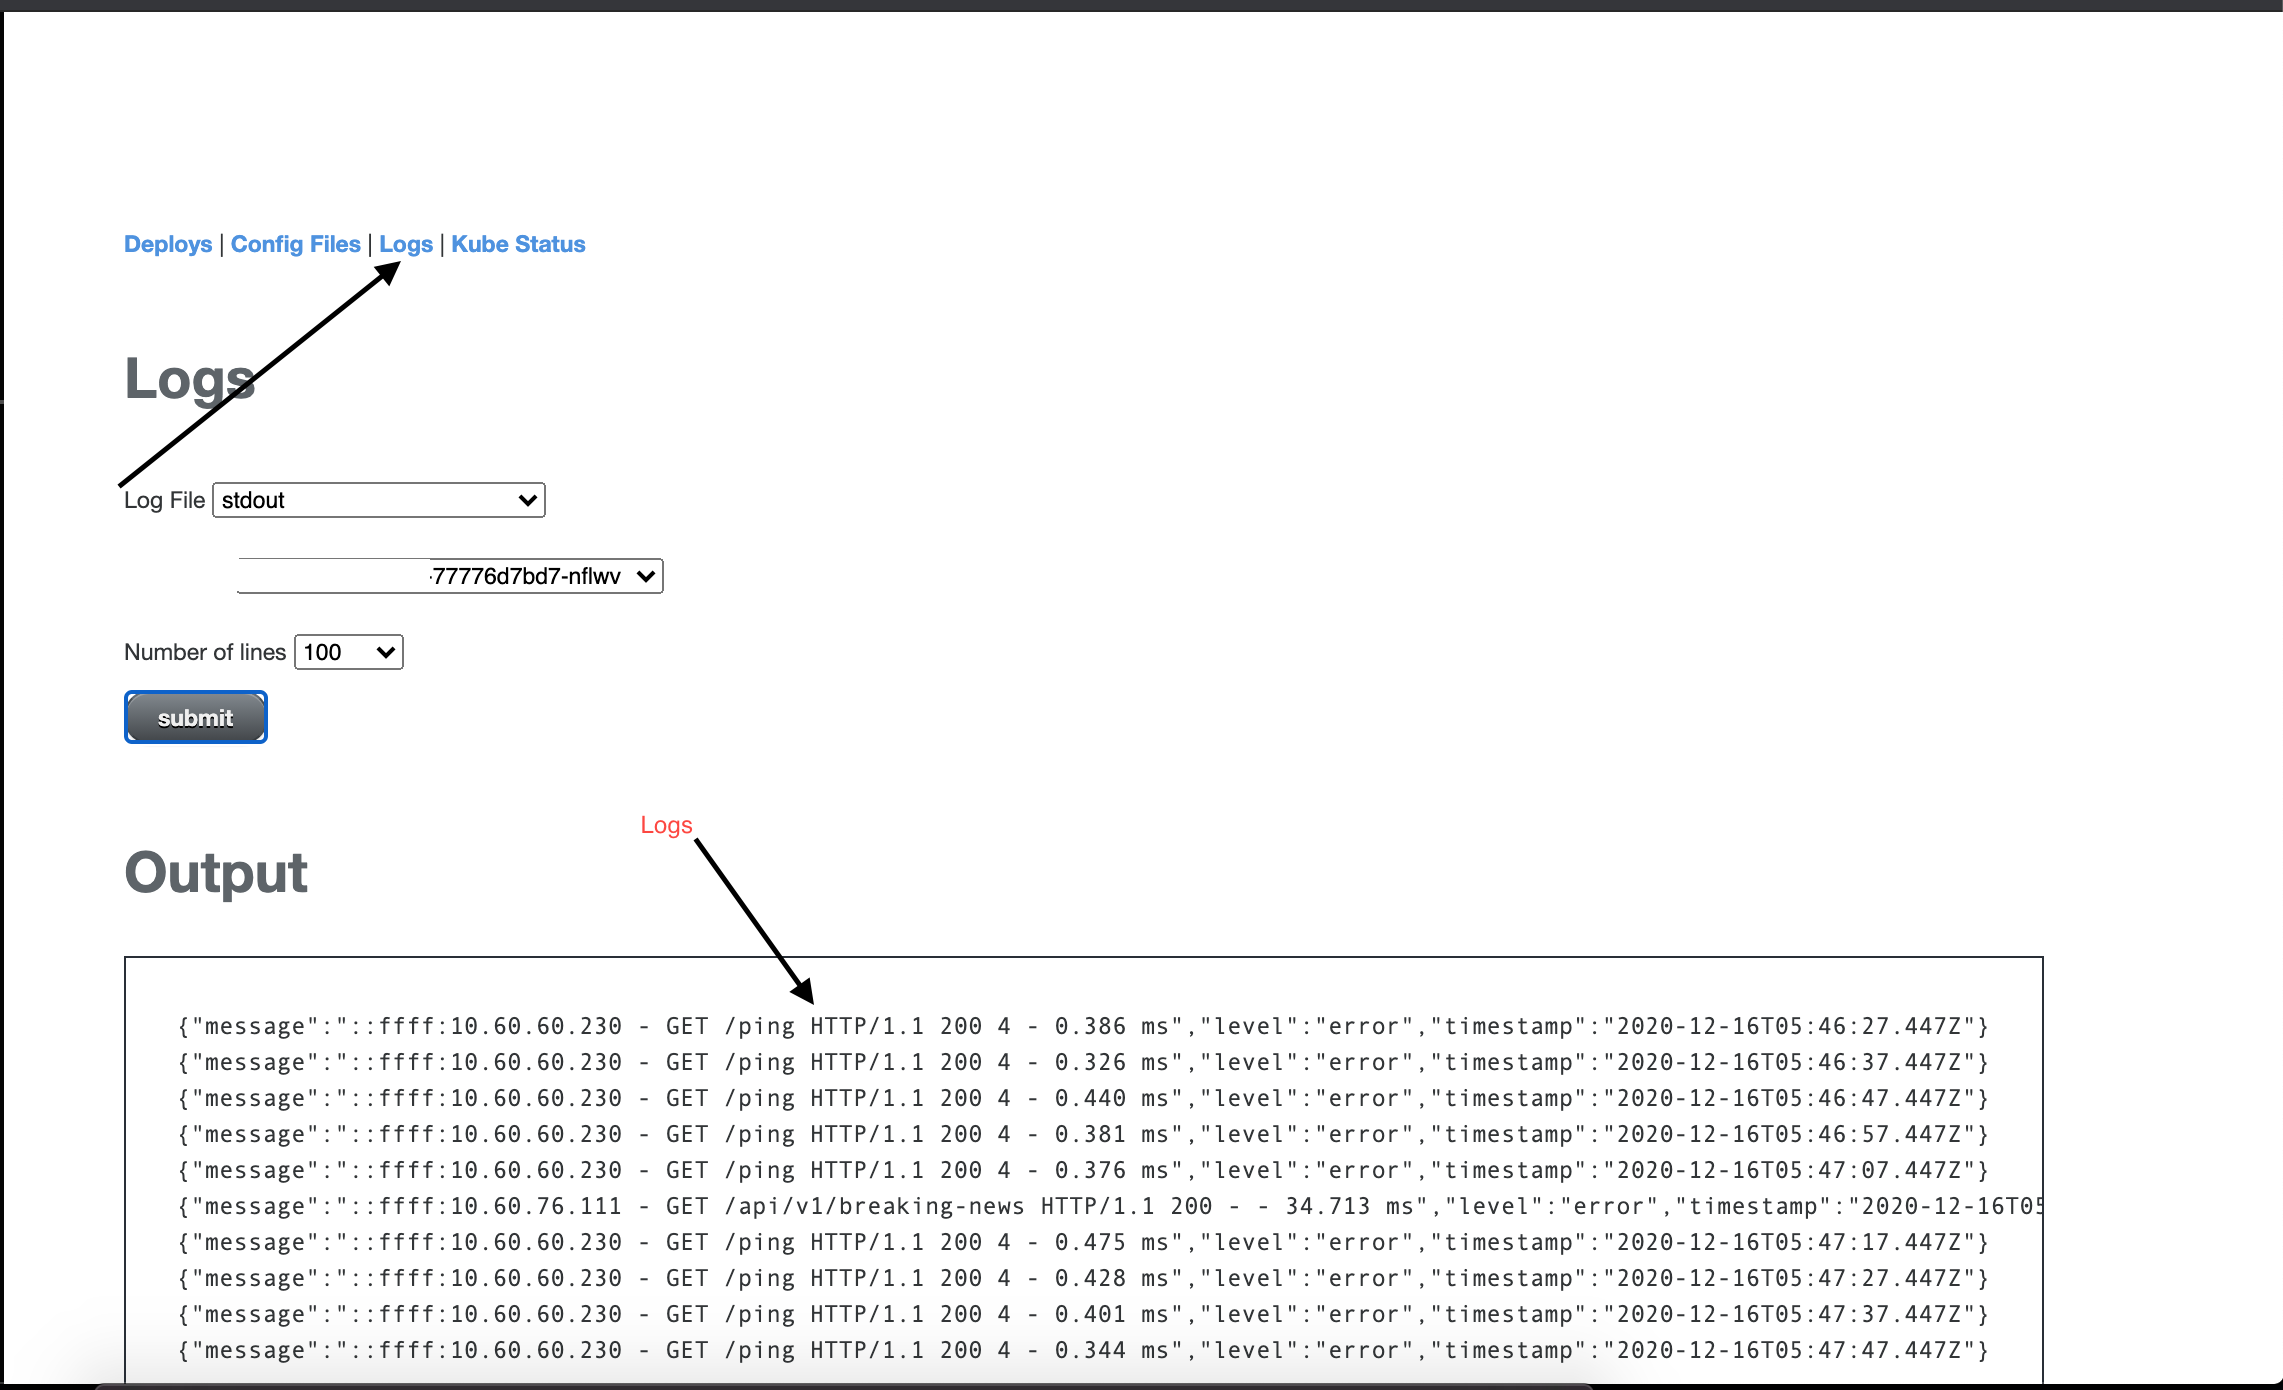
Logs
The Logs tab allows you to see logs from stdout or error.log from the running container.
Dispose
The Dispose tab can be used to start and stop the environment. This is applicable only for staging as the servers can be started/stopped as needed.
Kube Status
The Kube status indicates the number of healthy pods in the particular environment. This is an advanced feature for monitoring the health of your application. If you notice that some pods are not ready, please contact support@quintype.com.
Deploying
Let’s now go through with a sample deployment
git push
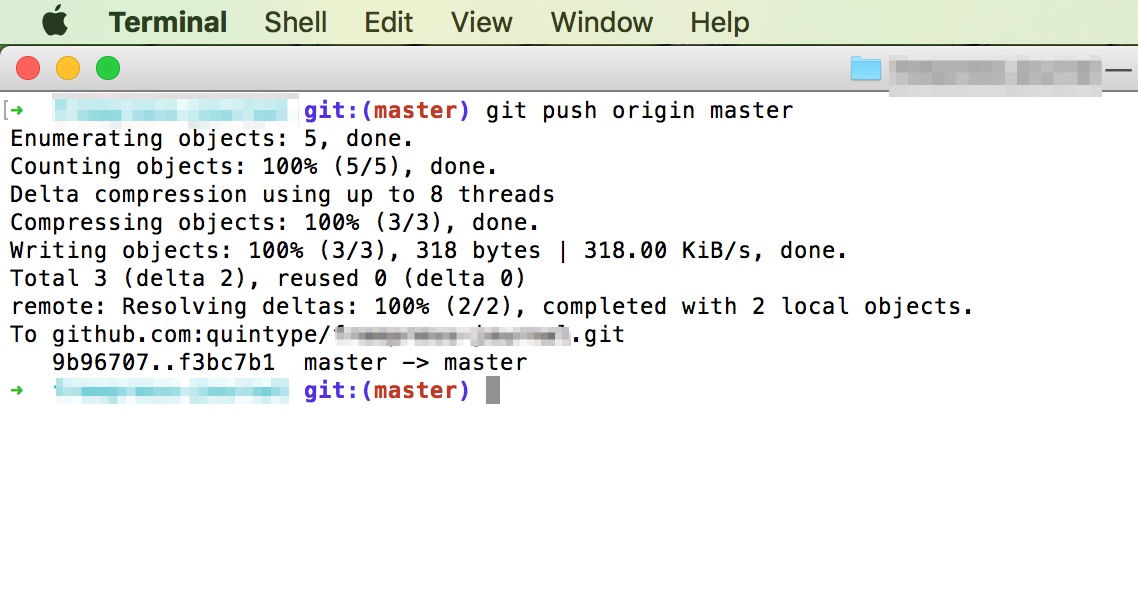
The first step towards deployment is to do a git push up to your project on Github. This can be on any branch, though it’s usually expected that changes are merged into master before being deployed on production.
Building on Quay
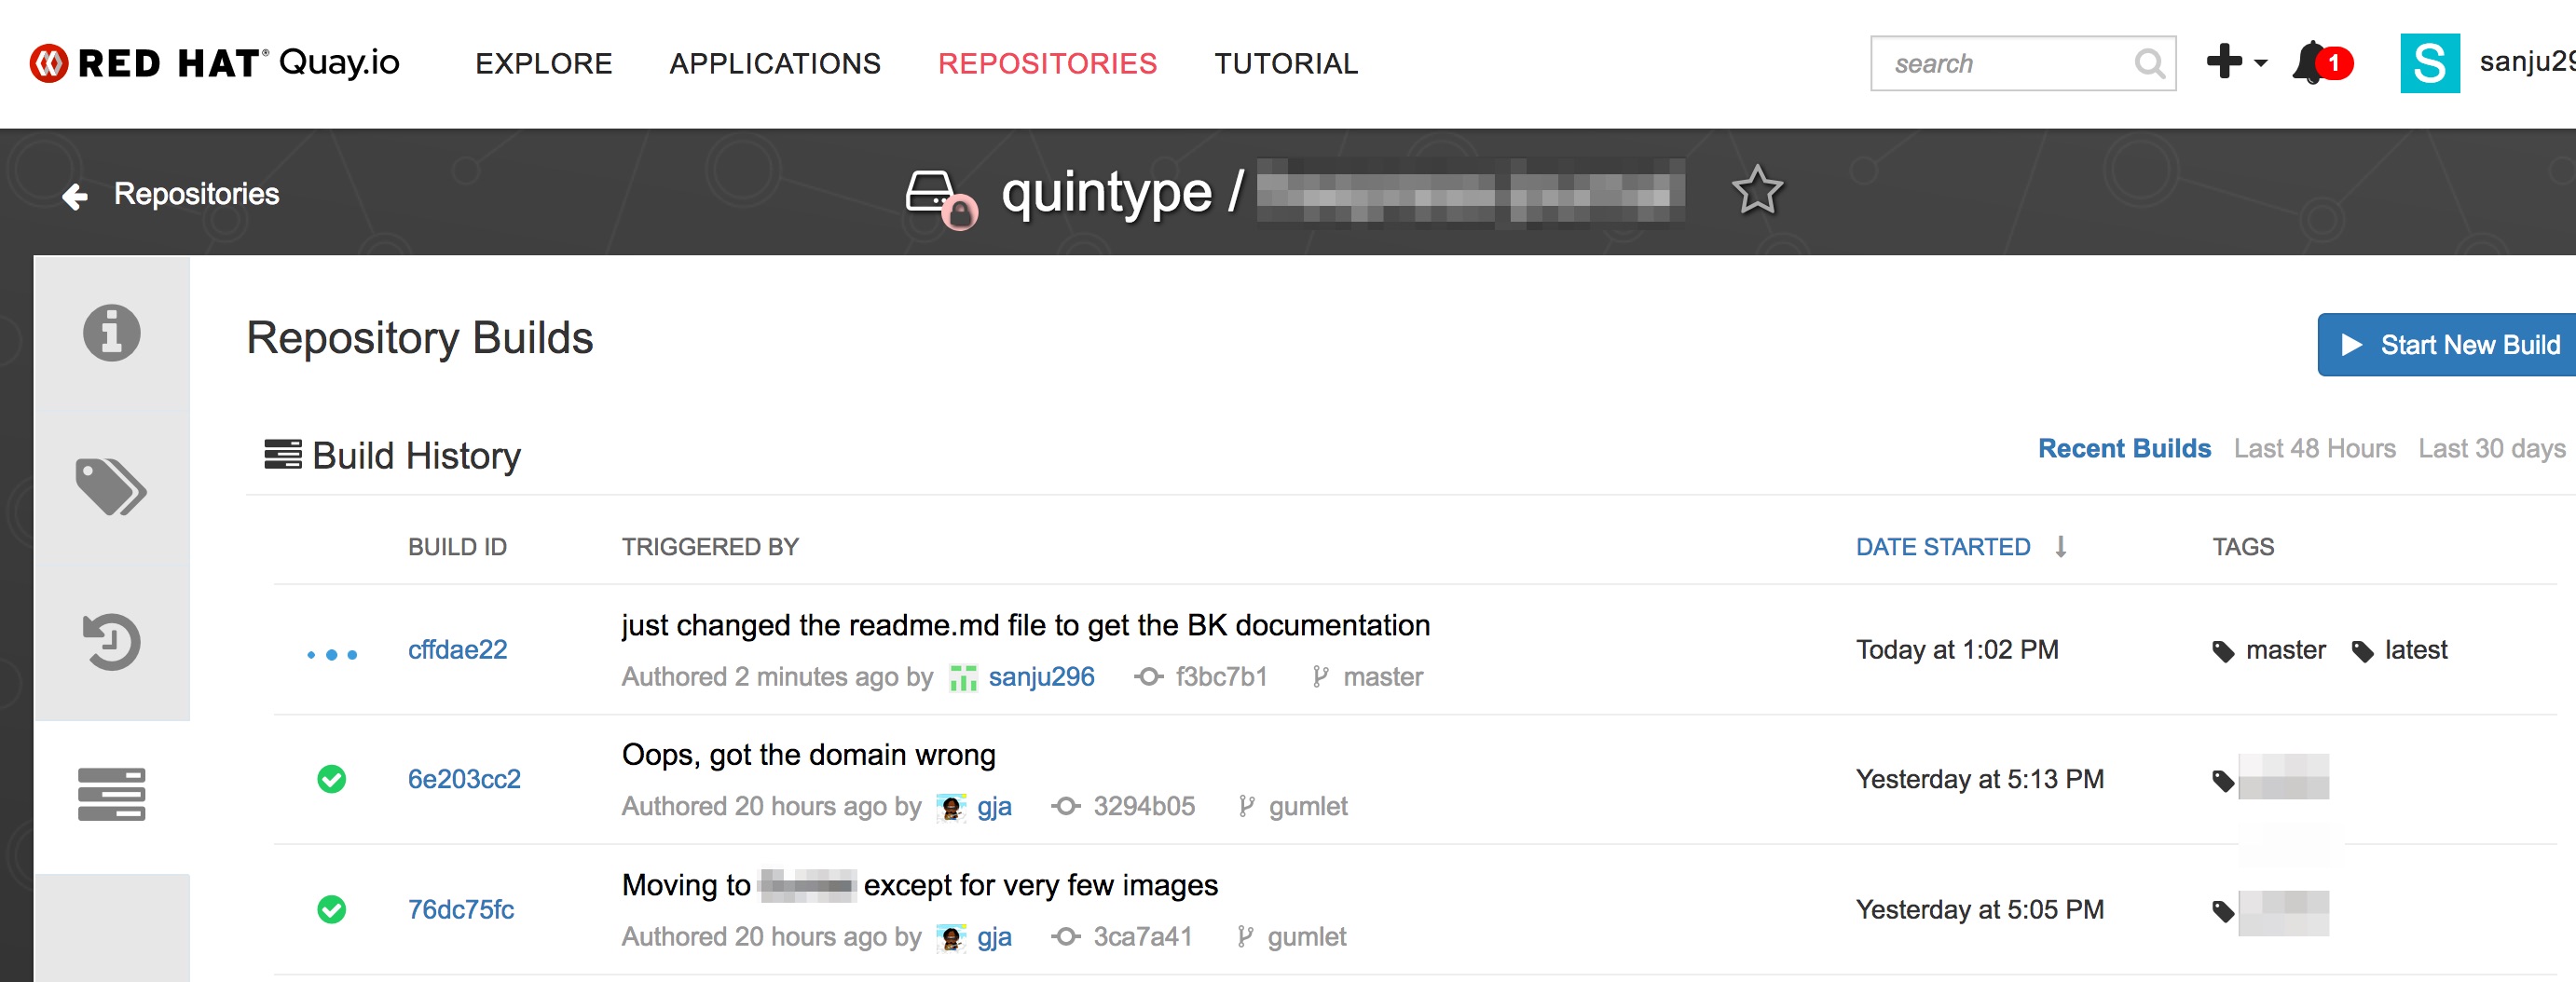
As soon as the branch is available, a build will commence on Quay. The output of the quay build is a docker tag, which will have the same name as the branch on github. The screenshot above shows the builds tab on Quay.
Entering Deploy Tag
Once Quay has finished building and uploading the tag, you are ready to deploy via Black Knight. Navigate to your project, and enter the tag you wish deployed.
Watching Deploy Output
The build screen gives detailed logging output as the config files are copied into the container, and the container is rolled to the environment. Keep refreshing to see the latest changes on the environment.
Once this step suceeds, you have sucessfully deployed your code. Allow a minute or two for various caches to get updated, but your site will now be live.
Rolling Back or Redeploying
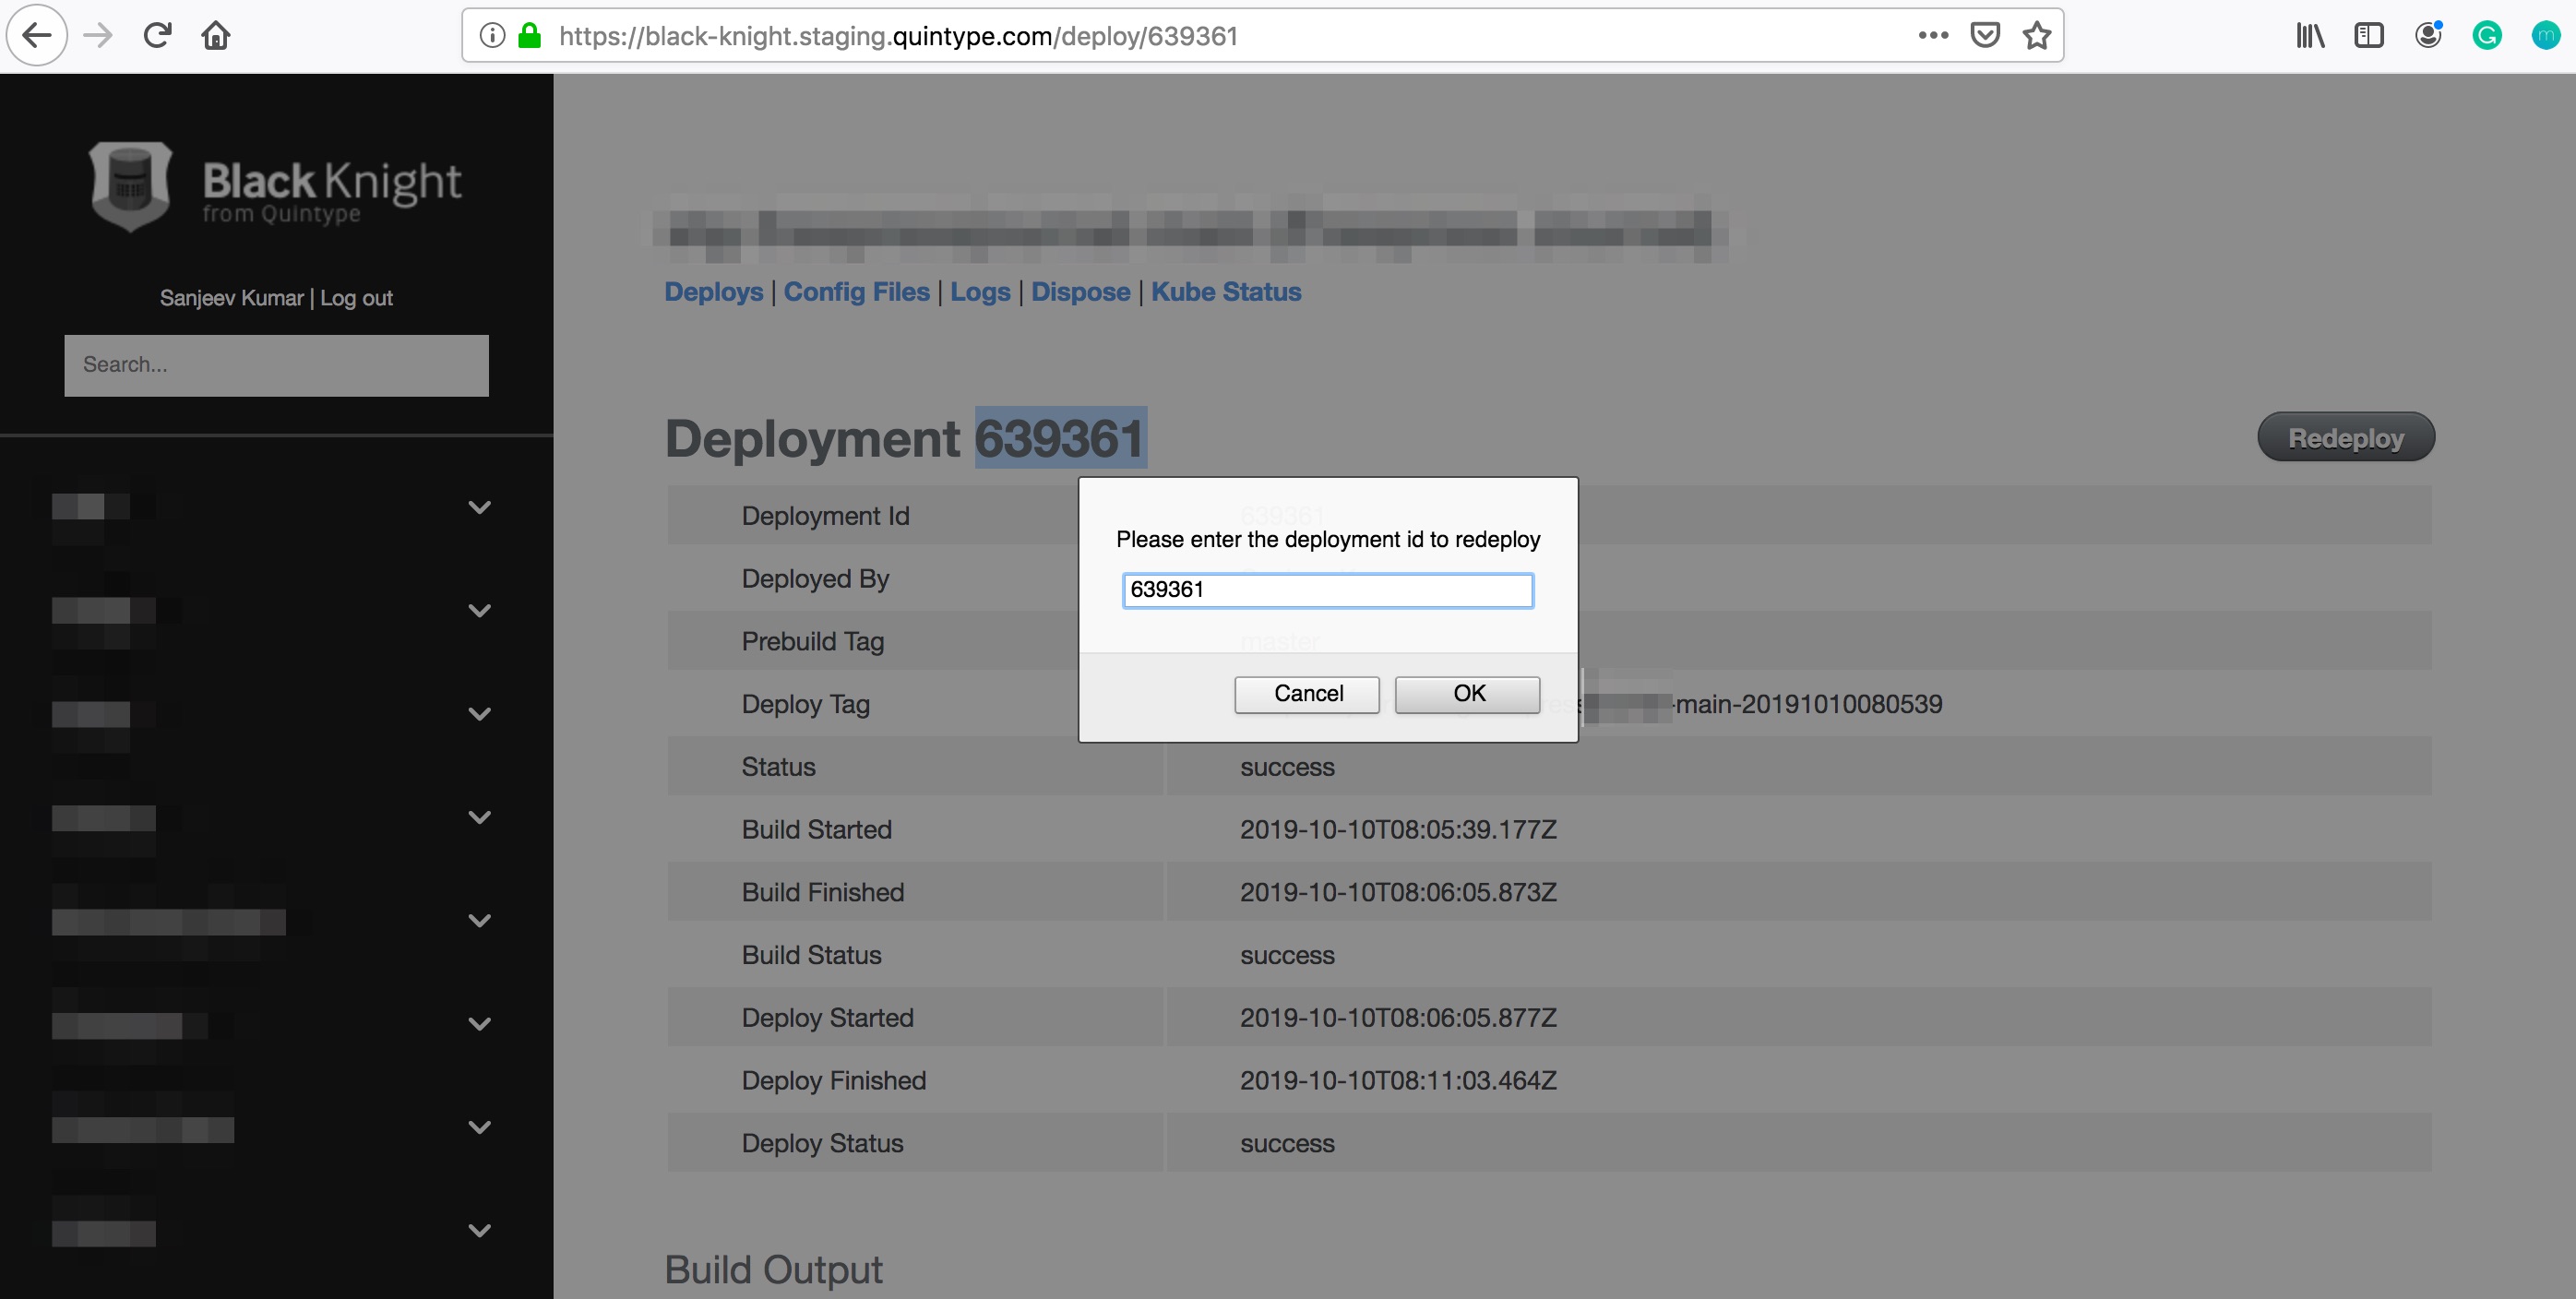
We all make mistakes when building software, and sometimes it’s necessary to roll back your changes. Black Knight aims to make this as simple as possible.
Going to the environment page, and you will see a list of deployments. Clicking on any deployment will open the deployment page. Click the Redeploy button, and re enter the id as confirmation. This will trigger a rollback to that deployment.
You may now proceed to Round Table or jump to a recipe from the Tutorial.