Implementing Logins
This tutorial was contributed by Nandakishore Prakash Rao
In this tutorial, we will go through the Login workflow.
Prerequisites:
- A button to handle each of login workflow
- A higher order component to wrap around the login/register button.Example:
const WithSSO = ({ ssoHost, redirectUrl, callbackUrl, signInPath, signUpPath, logoutRedirectUrl = "", children }) => {
  const formUrl = path => {
    if (!path) {
      return null;
    }

    const url = new URL(`${ssoHost}/authenticate`);

    url.searchParams.set("redirect-url", redirectUrl);
    url.searchParams.set("callback-url", callbackUrl);
    path && url.searchParams.set("auth-page", `${ssoHost}${path}`);

    return url.href;
  };

  return children({
    signInHref: formUrl(signInPath),
    signUpHref: formUrl(signUpPath)
  });
};
Proptypes:
| Props | Description |
|---|---|
| ssoHost | Subdomain of the main domain which would be consumed by Bridgekeeper.Example: (publisher.com). |
| redirectUrl | The url to be redirected to after the login/register. |
| callbackUrl | The url of the host(Publisher url), callbackUrl is used to set the cookie on the callbackUrl’s domain. |
| signInPath | The path using which the path to the login page would be constructed along with the ssoHost. Example: ‘/sign-in-page’. |
| signUpPath | The path using which the path to the register page would be constructed along with the ssoHost. Example: ‘/sign-up-page’. |
| logoutRedirectUrl | The url to be redirected after the user logs out. |
| children | The button component that forms the child component which is wrapped by the WithSSo component. |
Login workflow:
When the user clicks on the login button(as created above), the user will be redirected to the login page: {publisher.com}/{signInPath}?redirect-url={redirectUrl}&callback-url={publisherurl}.
There are a couple of ways to go forward with the login process.
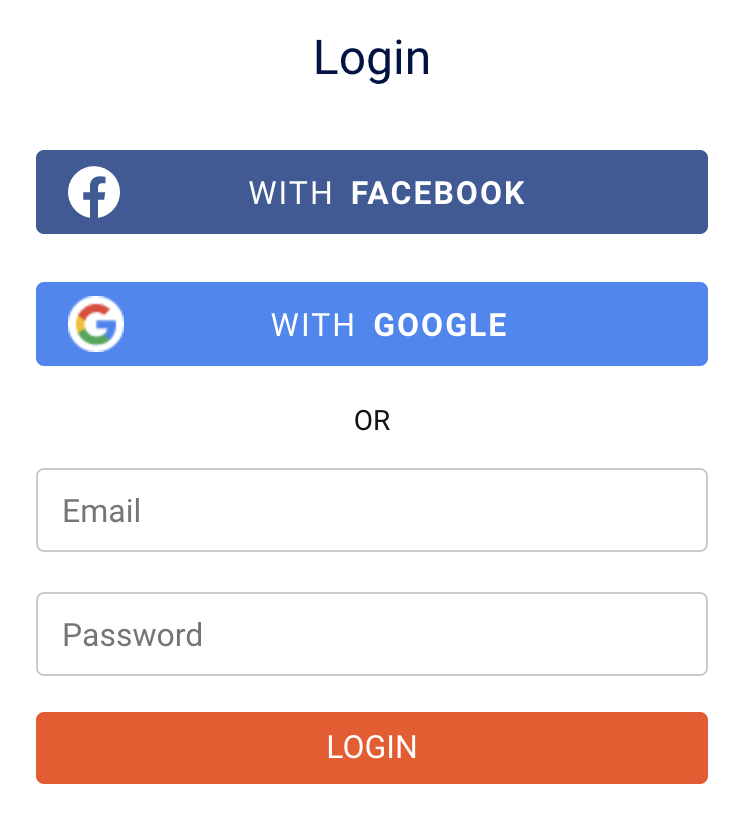
- Social Login: https://developers.quintype.com/quintype-node-components/WithSocialLogin.html
-
Form Login:
2.1. On entering the right username and password and clicking on the login button /api/auth/v1/sso-login api call is made which sets the cookie on the host url.
2.2. This internally does the /api/auth/v1/sessions/validate api call and validates the session and returns the user object along with the sessions.
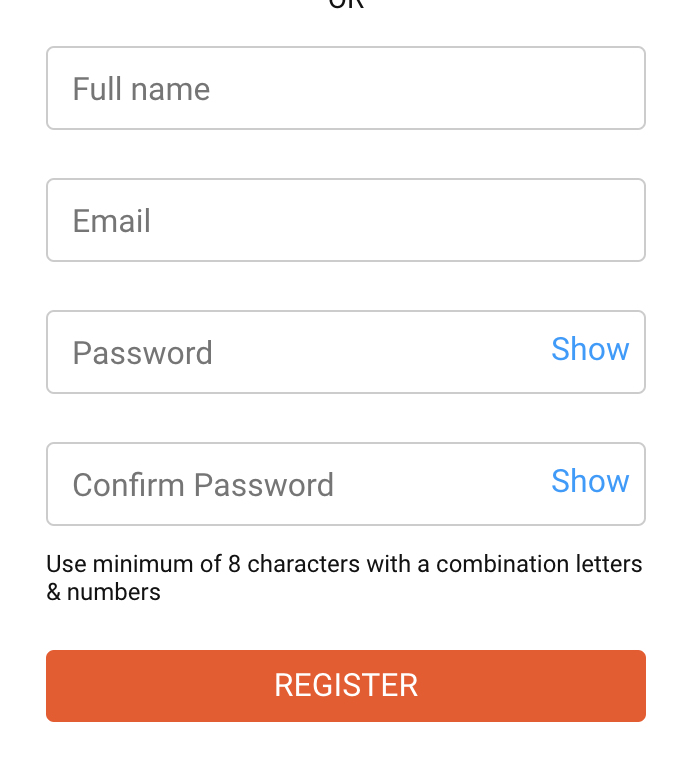
Register workflow:
When the user clicks on the register button(as created above), the user will be redirected to the registration page: {publisher.com }/{signUpPath}?redirect-url={redirectUrl}&callback-url={publisherurl}.
-
On entering the valid values and clicking on the register button /api/auth/v1/sso-signup api call is made. This registers the user and returns the user object with the verification status as null.
-
If the user needs to be verified - /api/auth/v1/users/send-verification-link api has to be called with the email id of the user and the redirect url as body which triggers an email to the email id of the user.
-
The email would contain a link, which on clicking would redirect the user to the redirect url. This updates the status of the user as a verified user.
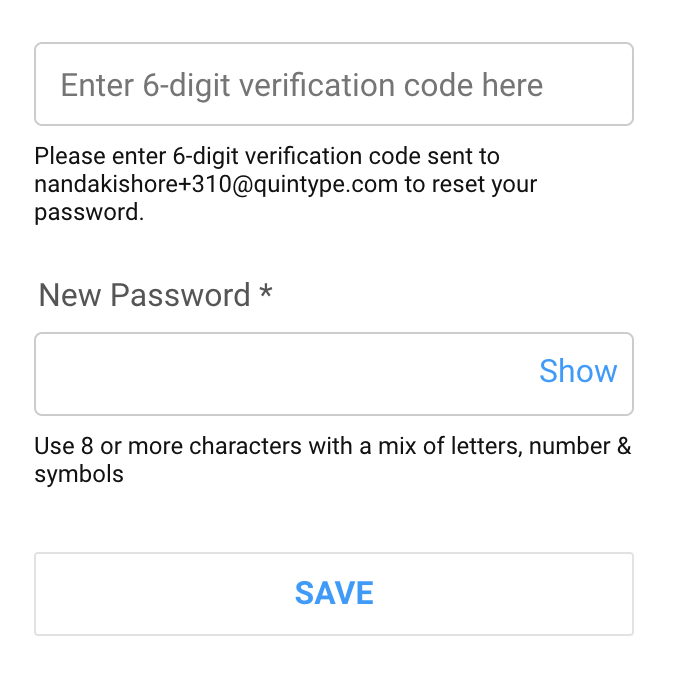
Change Password workflow:
-
The user change password is done with otp verification. /api/auth/v1/users/send-otp api call will be made with user email as the body for the request.
-
On receiving the OTP, the user enters the OTP and the new password. On clicking of save, /api/auth/v1/users/reset-password api call will be made with user email, otp and the new password as the body for the request.
Forgot Password workflow:
The user forgot password is done with email verification link
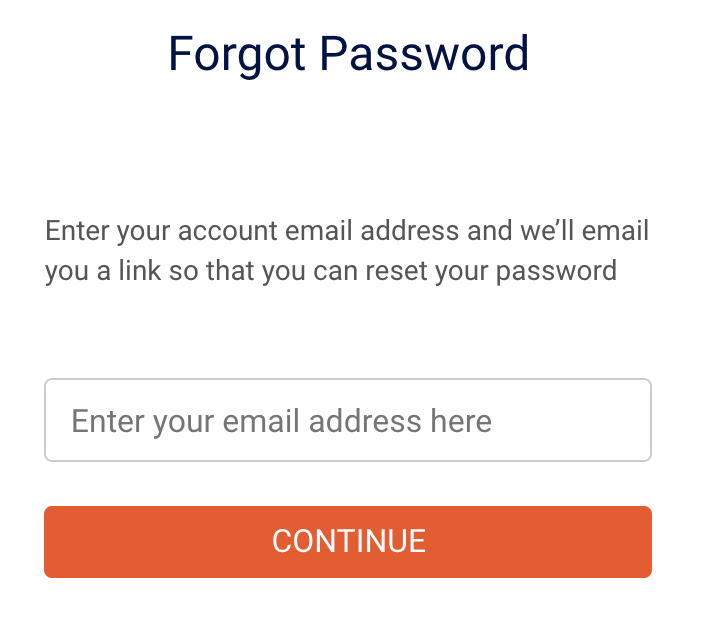
- On entering the email id of the user, on clicking the continue button, /api/auth/v1/users/forgot-password api call is made with user email as the body for the request.
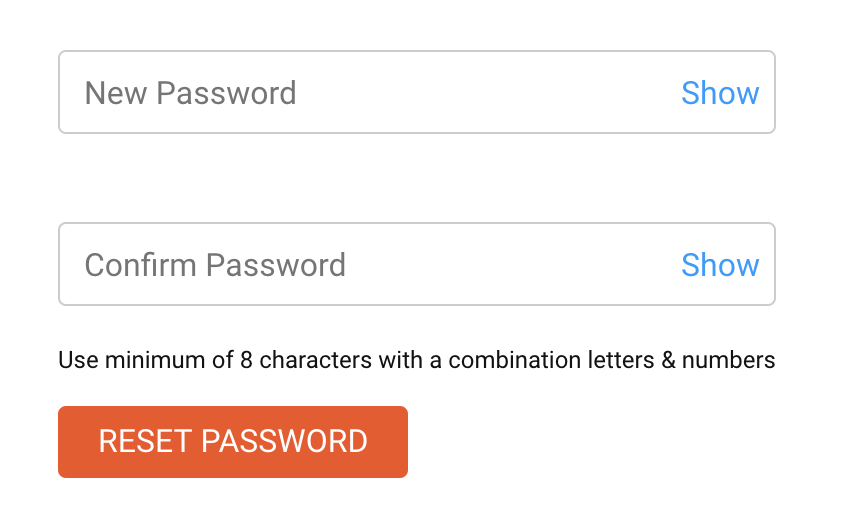
- The email would contain a link, which on clicking would redirect the user to the reset password page, where the user enters the new password and clicks on reset password. /api/auth/v1/users/reset-password-token api call is made with token, new password and the confirm password as the body of the request.
Logout workflow:
- On clicking of the logout button, /api/auth/v1/logout api call is made which kills the current session.
You may now proceed to Prerender or jump to a recipe from the Tutorial.